


Supply List:
empty box for cover (postcard weight works best, cereal boxes are a little thick but still usable)
Contact paper (at least a 5x7 inch scrap)
scrap patterned paper for inside cover
adhesive (not pictured)
embroidery floss
needle
hammer & awl
bone folder (not pictured)
embossing tool with narrow end for scoring (the round end of a paint brush would work)
hobby knife
ruler
scissors (not pictured)
junk mail or other blank scrap paper (I got most of mine from old journals I found at Goodwill)

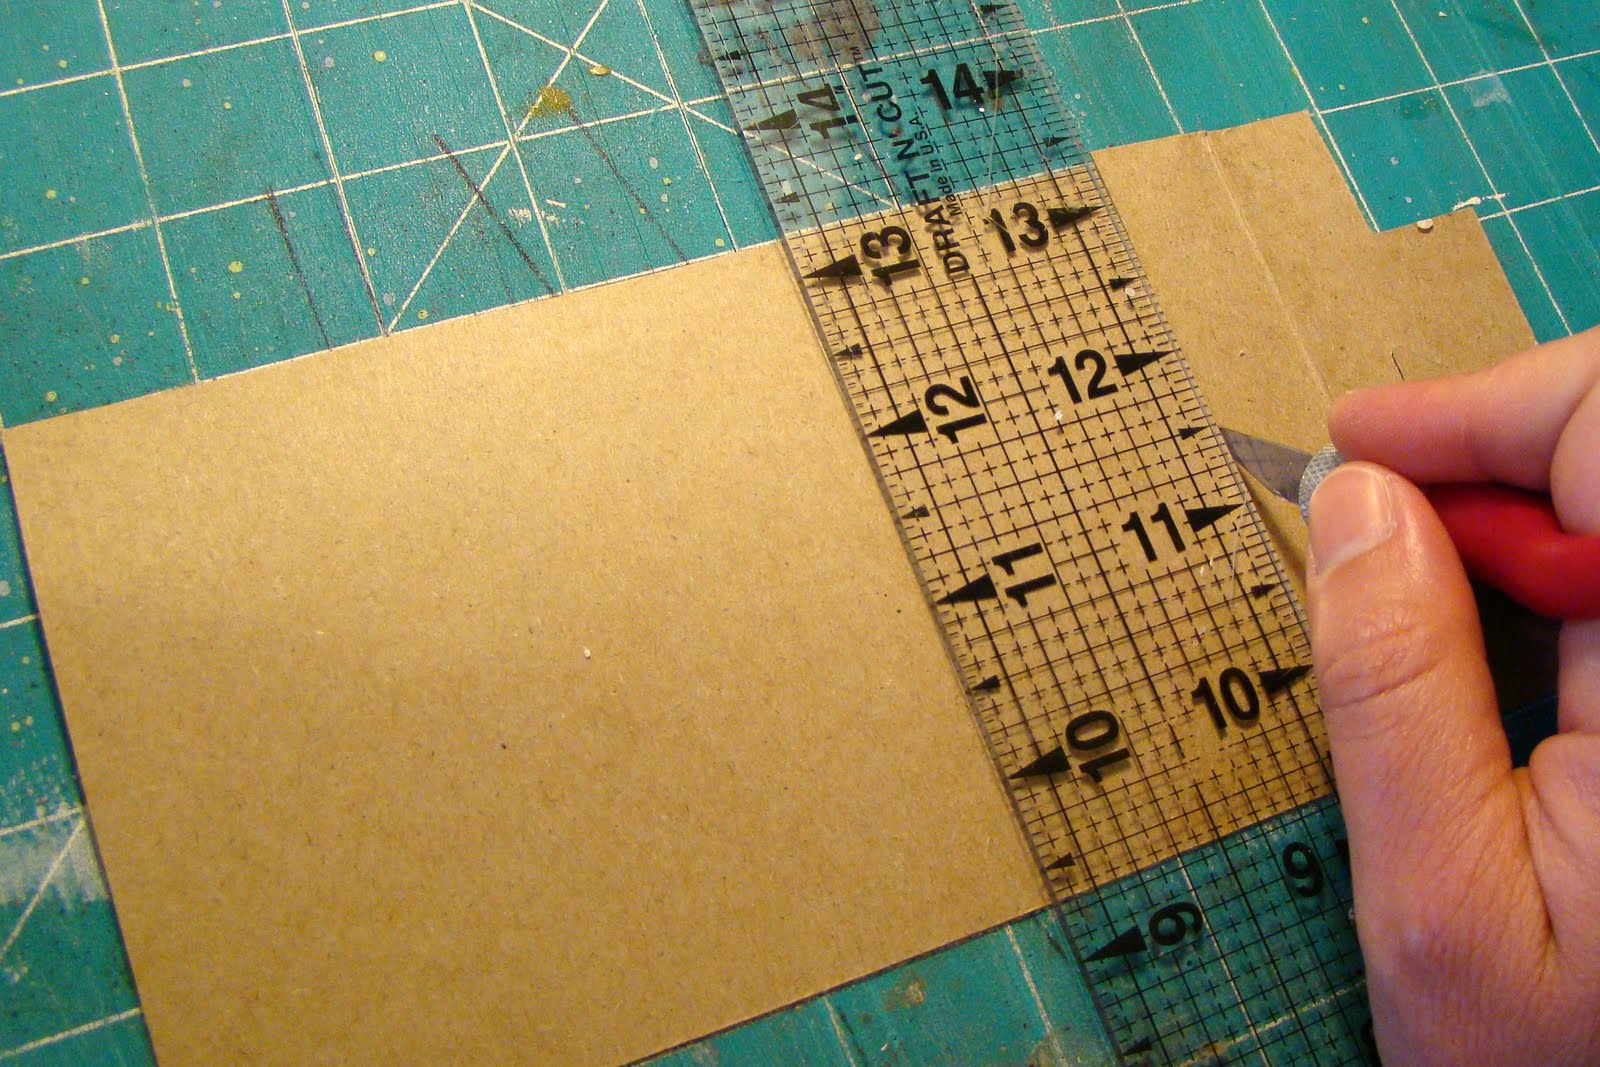
First, use your ruler and hobby knife to cut a 4 1/4 x 6 1/4 inch rectangle for the cover. (All scrap materials from this project were recycled!)
Using your cover piece as a guide, cut a piece from your sheet of Contact paper about 1/2 inch larger on all four sides.

Gradually peel off paper backing from the Contact paper, applying the cardboard piece blank side down (to avoid having any print show through). Cut the corners as shown and fold over edges.

Cut a 4x6 inch rectangle from your patterned scrap paper and adhere to the inside of your cover.

Using your ruler and scoring tool, impress a line 3 inches in from each side of the 6 1/4 inch length. Fold on each score line and use your bone folder to create a clean fold. Don't press too hard during this step, or you may tear your paper!

You should have a nice, crisp 1/4 inch binding like so:

Next, cut your blank (or lined, or both) scrap papers to 4x6 inches. Stack together and fold in half, using your bone folder to make a sharp crease. You should be left with a 4x3 inch booklet (called a signature). Save one page (called a folio) to use as your signature-punching template.

Making sure the pages are tightly together, use your ruler and hobby knife to trim the outside edge of your signature to eliminate the fore-edge creep.

Using your ruler and the awl, mark your template on the crease, once in the middle (2 inches in from either side) and 1/2 inch from the top and bottom.

Place the template inside your signature and using it as a guide, press the awl through all the pages, tapping with the hammer. When marking the cover, make sure your guide is in the middle of the binding, not aligned with the top or bottom. (I make a small mark with the awl, remove the template, then make the hole larger with the awl after assuring the hole will be in the middle of the binding, not close to one of my score lines.)


Align your signature inside your cover. Cut the embroidery floss to an 18-inch length, then separate into 2 or 3 strands. Thread your needle with the strands and enter the middle hole from the inside, making sure to leave about a 4 inch tail.

Enter through the top hole, then again go through the middle hole to the outside, keeping your thread snug.

Enter through the bottom hole, then pass your needle underneath the binding stitch inside the book.

Tie your loose ends in a double knot, then trim to about 1/4 inch.

This is what the outside of your booklet will look like (I used dark thread so it would be easier to see for this tutorial, but you could use whatever color you like):

The inside:

You can affix a label or other decoration to the outside to personalize your notebook, and you've made your very own upcycled pocket journal! Congratulations, excellent work!

Thanks for following along with my tutorial...and if you decide this project doesn't seem like something you'll have time for, I'm sure I'll have some available in my etsy store soon. Have a fabulous weekend!


